Wednesday, December 17, 2014

3D Paper Star

Christmas is just a few days away! I'm sure so many of you have put up your decors at home and you can no longer deny the scent of the holidays in the air with friends sending you treats, moms baking goodies, etc. etc. Tons of people are doing their Christmas shopping, heavy traffic is everywhere. Ironically though the longest holiday of the year is also the busiest time of the year.

Enjoy a little break from all the holiday madness and ask your friends or family to make your very own stars for Christmas! You can hang them on a tree, write wishes on the strips of paper, or put them up like a garland. 


Before I go into full tutorial of how to make this 3D paper star, I'd like to make special mention to my guests during the Crafty Party! Look inside your craft bags and you should be able to find strips of paper tied with a string, scissors, and double adhesive tape. 

Craft bags for the Crafty Party

Freebies in the Craft Bag

You'll need 12 strips of paper, double adhesive tape, and a pair of scissors
Take all of your 12 strips together and fold it in half to make a crease. Then take 2 strips, put adhesive in the middle and make a cross, putting one strip on top of the other.


The horizontal strip should be on top of the vertical one. Take two more adhesive tapes and stick it on either side of the horizontal strip. Make sure that you leave just a tiny gap between the tape and the vertical strip. 


Now flip the whole thing over. The horizontal strip should now be vertical. Stick two more adhesive tapes on either side of the middle horizontal strip, and again mind the gap!


Now bring the other two horizontal strips on top of your newly placed vertical strips to make it look like a pie!


Once you've done that, stick on four more adhesive tapes on the right most strips. Twist the two outermost strips to meet each other at the end and stick them together. Or just do it like the image above and do it on all four sides. 


You'll need to repeat this process twice to come up with the two halves of the 3D Paper Star. Once you do, simply stick the two together with more adhesive tape. One should be in the shape of X the other like a cross. So when you put one on top of the other, the loose strip will match the twisted ones as you can see below.


You can leave it as it is or cut away the extras. Tie it around with string and hang it up on your tree!


Here's a video I found online of the full tutorial :) Have a bright and shiny holidays! 


Tuesday, December 16, 2014

Crafty Party!

It's been a while. Much as I want to not have too many days between posts, sometimes life just gets in the way. The past month in particular got me all busy with planning my very own crafty party! It was a very quick decision between celebrating the last year of my 20s or the first of my 30s. Well, my invite explains it all. 

Mom made my yummy yema cake! You can order from her :)
It was quite rainy that day. Traffic was extremely unforgiving and there could have been thousands of reasons for me to not enjoy the day. But, crafts save everything. There were a handful of guests who were able to make it to the venue and it was obviously the best number to hold a crafty afternoon. 

Happy after crafting. Eats cake. 
14 Four Café
I couldn't have picked a more perfect venue. If I were a café/resto this probably what I would look like. The food was great, I loved the mango vinaigrette in particular, my mom's dessert was just amazing!
Better than ice cream, ice cream cupcakes!
And all of my guests were very game to do all of the crafts I had prepared for the day (yes even the boyfriends and husbands!). The room was filled with laughter and surprisingly competition between couples on who can make the better origami envelope or washified Christmas card or washitype! I can't describe enough how funny these guys were. It was just like teaching preschool all over again but with adults!

Girls were dead serious with those washi tapes
And so were the boys :p
They all had something they made that they can truly be proud of. What's even cooler is that they can share what they learned to their kids, friends, parents, or just about whoever they want!
Boyfriend in full support!

From Origami Envelopes to Washified Christmas Cards and Washitype Monograms

I realize that day that if crafting is something that even men who claim to not have a strand of creativity can do, then anybody can do it! It's all just a matter of letting the craft bug take over.

What a way to celebrate my birthday. There really is no better party than a Crafty Party!

So craft on dear friends! And hopefully I will be able to infect more people in the next year with more of my crafts :) As a friend said "crafting is so therapeutic and really a lot of fun!" I couldn't agree more. 

Monday, December 1, 2014

Paper Loving

I had a different plan this week for the blog. However, time did not permit to complete the projects scheduled for the week, yes I schedule crafting! Some of you can probably relate to waking up early in the morning to carve a stamp or practice calligraphy or whatever you feel like doing. 

Christmas is so near and I was hoping to have had more posts for Christmas ideas. Ah but you do with what you have and what you can. Anyway, while I was mulling over how I can make better use of my time and follow my schedule strictly; mom brought me to a neighboring exhibit. I was in it for the food and delicacies. But it was such a nice surprise to discover a fellow paper-lover from the same neighborhood (well, close). The Yellow Violet House.


Just look at the details of this invite!
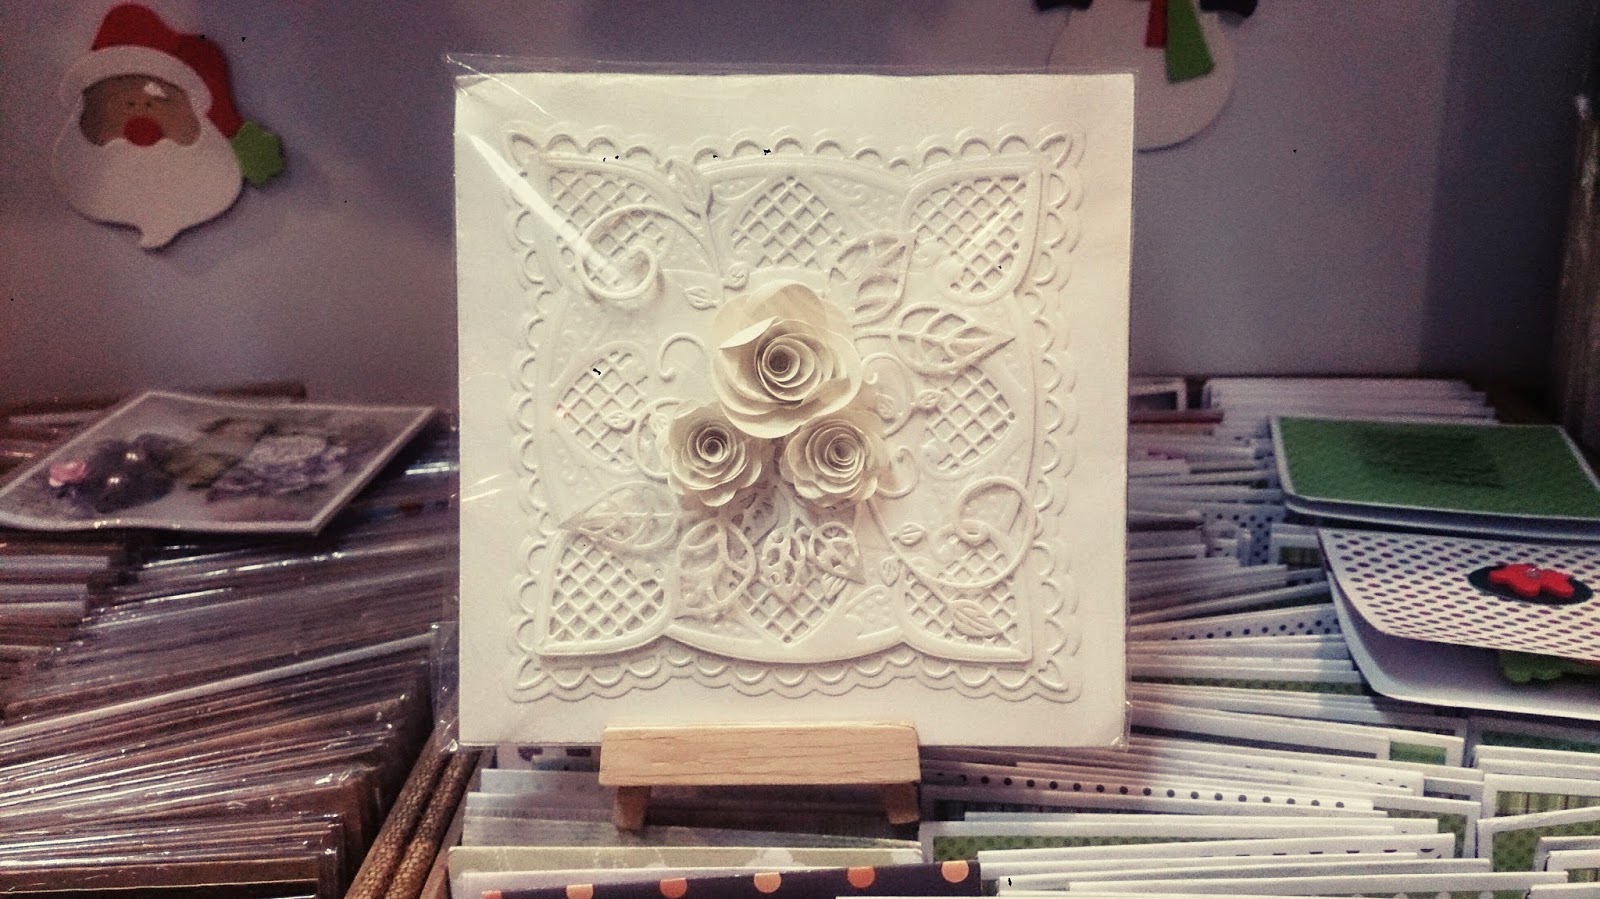
Of course, I spent a good hour just looking at the little trinkets they had. And most of it was made of paper! I died XD I inquired further and found out that they have an actual store, not too far from where I live and they sell scrapbooking stuff! The lady encouraged me to visit their actual store to see all the goodies they had. 


A box made of paper with paper inside! Amazeballs!
Lots and lots of boxes!
I'm not really into scrapbooking... yet. But I never rule that out of my crafty list. The things you can get from a scrapbook supplier are endless and there are so many ways to use them in whatever craft you're into. Just look at those laser cut butterflies and flowers! Imagine creating a garland or a mobile or buntings with them!

I wasn't planning on buying (haha right!) but how could I not when the details are so intricate, the paper quality was also commendable. No matter how thin those cuts are it didn't feel like it was going to get ripped off easily. 


I shall make something out of these bicycles soon!
You can expect follow up posts--one for when I visit the store and another for a craft project using these paper cuts. Speaking of updating the blog. I might be expecting too much out of the amount of work I can do within 24 hours. I should really just enjoy sharing crafts without the deadline, in that way I won't have the added pressure and have more fun creating and sharing. 


Create, no pressure!